Friday, 24 October 2014

Roses in time

After a turbulent couple of weeks I finally feel like I am getting back to a little bit of Miss Molly work. My Mum was in an accident and I have been concentrating on her and on family.. so my dolly work was put on the shelf.

Unfortunately it did mean that I cancelled my stall at the Penrith Doll and Bear Show. My head and heart certainly wasn't in it and as I am still spending most days with my Mum in the hospital, I couldn't see how the logistics would even work.

But every cloud does have a silver lining, and although I wasn't able to place my work on an actual stall.. I was able to finally start restocking my Etsy Shop.

Slowly but surely my work is being uploaded.. but its a slow process, due in part to my internet speed and also with me still spending large parts of the day at the hospital.


I have a wide selection of knits that I have been hoarding for the show... this photo showing just a few of them, as well as a few dollies, bears, some hats, shoes, and a selection of dolly accessories.

I have also started to sell some of my vintage sewing collection, mainly laces, ribbons and buttons. I love being able to share my love of these and expand my collecting.... now I have an excuse to go hunting for them, because as it stands I have more than enough for any dolly or bear I would want to make.


This photo shows a very small selection of what I have. And each week I am adding more.... this week I managed to find some very special, very old mother of pearl buttons, about 1000 of them are going to be coming to join my big pot. My husband joked with me when I bought this big glass jar that I would never manage to fill it... hmmm,  I've never backed away from a challenge!
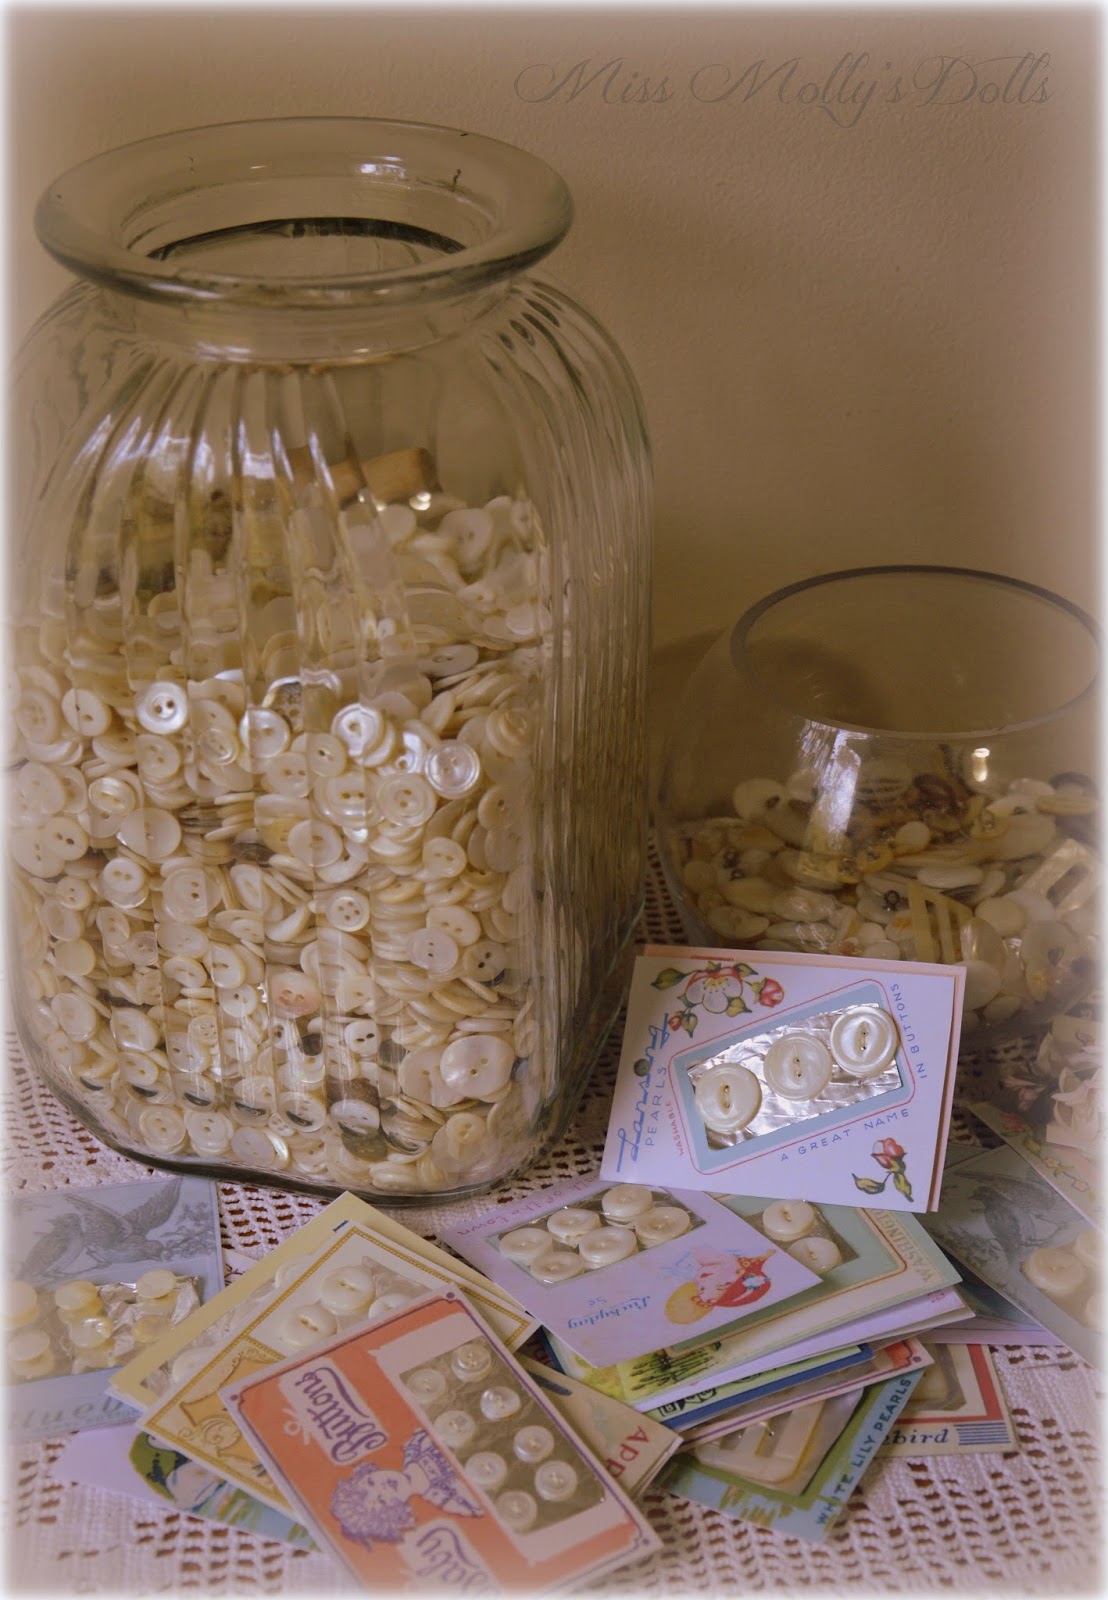
 
 
I've been sewing some of them onto gorgeous reproduction button cards.... you know I have never given any thought to button cards before and the skill it takes to stitch buttons on by hand, but I tell you after sitting for some time with needle and thread its not as easy as it seems... hehehe.


This little glass cabinet I thought would be perfect for my cotton reels. Though at the moment its filled with button cards and spools of lace. I have a real love for rummaging through second hand and antique shops looking for vintage cotton reels. When I  do manage to find them I am so excited... especially if they are a lovely pastel colour or even better, a very old one!


So yes I planned for almost two months that I would be at a doll show this weekend, but I woke this morning and walked out into my garden at peace with the fact that you never know the direction life takes you. I picked flowers for my Mum, and thought about new creations that I want to make and new ways to hunt for some ribbons and laces. And sure I am still very upset for my Mum and disappointed with the fact that I missed out being at the show, but its pretty hard to stay feeling sorry for yourself when you are walking around roses in full bloom.


Mel xxx

Monday, 6 October 2014

Little Dolly Outfits

Well just a couple of weeks left to the doll show. Work has accelerated as I try to get as much completed as I can. This morning I laid out some of my items to get a feel for the stall.... I'm not sure if it helped or not, pretty sure it just made me more panicked. I have 6 dolls needing to be finished at varying degrees of completion. But at least some things are getting done, the mannequins now have dresses on them.


This little dress is made from Kent gingham and is finished with a lovely green silk satin ribbon and hand dyed vintage eyelet.

Hand dyeing the eyelet was my first attempt at dyes made from natural plants. I have fruit salad sage growing prolifically through my garden in winter, early spring I generally cut it down and put it in the compost when it starts going leggy, but I thought instead of composting all of it,  I would save some to make some dye from. The results were very soft, but I think it was a perfect soft sage green to go with this lovely green gingham.


Its definitely a fun experiment creating dyes from your garden. I put quite a fair bit of leaf into a big pot, filling it to the top, and boiled it down with about 1/2 cup of salt and some baking soda. The salt and soda act as a mordant and help fix the colour to the fabric.

 
This next dress is made from a beautiful piece of vintage fabric, a very soft lawn. The little apron is embroidered with matching rosebuds.... I think its a perfect little outfit for an old fashioned dolly.


The final outfit is an example of some of the more simple dresses and embroidered knits I will have for sale. Hopefully quite a selection will be available if all goes to plan. This little one I just loved, little daffodils and daisies!
 
Mel xx


Thursday, 2 October 2014

Little Crochet Hat Pattern

I thought I would share a little hat that I am making for a doll show that I will be at in a few weeks. Its a very simple hat and a great project for a newby crocheter, or someone looking for a very quick and fun little project for your favourite little bear or doll. I generally make mine from crochet cotton, some of the cottons I use are authentically vintage, but I also use DMC Petra 5 which is widely available and has a lovely vintage colour range. You can play around with various cottons and yarns which will alter the size of your hat as well as its look. Just a quick note if you do decide to play around with different types of cottons and yarns, try to use a crochet hook that will provide you with fairly tight tension. The tighter it is, the firmer and more stable your hat will be.


For the hat pictured here I used a 1.75 mm crochet hook with DMC Petra 5. The size of the hat is small for a head circumference of approximately 7 to 8 inches. If you do decide to use a thicker or finer yarn it will, of course, change the sizing.  I finished the hat with some sweet antique lace and a vintage pansy flower, but the world is your oyster with how you would like to trim your hat, there are endless vintage laces, ribbons and braids available. You could make your own flowers as well, a few crochet flowers would look very sweet!

Ok, here's the pattern, if you have any questions or queries, just message me and I'll try as best I can to help. Also if you are very new to crocheting, YouTube is fantastic for teaching videos on crocheting and knitting, well worth referring to. This hat is made in the Amigurumi style crochet. It involves simple chaining, single crochet stitches and increases.

Abbreviations;

Sc = Single Crochet
Rnd = Round
* = Repeat
st = stitch
sl st = slip stitch

Pattern

Stage 1 is forming the crown of the hat, so you are making a flat circle.

Begin by chaining 2

Rnd 1 - 6 sc in first chain = 6
Rnd 2 - 2 sc  in each st = 12
Rnd 3 - (sc 1 st, 2 sc next st) * = 18
Rnd 4 - (sc 2 st's, 2 sc next st)* = 24
Rnd 5 - (sc 3 st's, 2 sc next st)* = 30
Rnd 6 - (sc 4 st's, 2 sc next st)* = 36
Rnd 7 - (sc 5 st's, 2 sc next st)* = 42
Rnd 8 - (sc 6 st's, 2 sc next st)* = 48
Rnd 9 - sc each st
Rnd 10 - (sc 7 st's, 2 sc next st)* = 54
Rnd 11 - sc each st
Rnd 12 - (sc 8 st's, 2 sc next st)* = 60

At this point you should have a circle with 60 stitches. Now we are going to make the side of the hat by simply doing single crochets in each stitch for 16 rows. Run a small piece of wool or cotton through your beginning stitch to act as a marker, this will help you count your rows so you don't get lost.

Rnd 13 to 28 - sc each st

Now work the brim, by adding an increase row and then following with some more single crochet rows.

Rnd 29 - (sc 1 st, 2 sc in next st)*
Rnd 30 to 33 - sc each st
Rnd 34 - sc each st, sl st last 2 stitches

Cut cotton, thread with darning needle, run it through the centre of last stitch, then run through some stitches on the inside of hat to secure the end.


Mel xxx


Sunday, 21 September 2014

Lovely Laces

One of my absolute loves, from right back into my teens has been antique lace. When other young girls were reading teenage magazines on how to get the boy that they liked to like them or how to wear the "latest" look... I was reading doll collecting magazines, going to doll fairs and buying antique laces and millinery flowers with my pocket money. I have to admit though, it didn't make me the most popular girl at school and no, I never managed to convince that boy that I liked to like me back, BUT I had a lovely little collection of dolls, laces and flowers.

The fact that I am returning to my love of collecting laces & haberdasheries again feels like coming home. Only this time we live in the age of the internet and actually finding these pieces are far easier. 20 years ago my ability to access these specialty collections was problematic. Now, the internet allows me to access laces, flowers and buttons that I could only ever dream of.


Pieces like this late 19th century ribbon work on guipure lace is no more than a click away. However, being more available has also meant that antique haberdasheries are now far more expensive than what I ever remember them being. Perhaps an argument could be that they are more expensive because they are in fact becoming rarer... but I tend to also think the ability for people to access them has meant more demand on pieces. A small piece of valenciennes lace could reach almost $20 a yard, and sometimes more depending on the detail and rarity.


 Slowly my collection is growing, little bundle by little bundle. Being in the presence of this lace does leave me with quite a spectrum of emotions, excited that I have managed to have it come into my little home, awe at its beauty and a little sadness as well, because although we do make very fine reproduction antique laces still, the reality is that this level of quality is the exception, not the norm.

Its not until you really look at a piece of antique haberdashery that you connect with what we have lost. For me, Broderie Anglaise pieces are an absolute example of this fact. Compare a 100 year old piece to current eyelets for example and it is like chalk and cheese. I have 4 small pieces of Broderie Anglaise that are new/old stock and I cherish these pieces like gold.... the detail is truly exceptional and unlike anything being manufactured today.


I spent some time this week laundering some of my laces and winding them onto homemade bolt cards. As much as I love antique lace, the mustiness is not the most endearing quality about them. For doll making I prefer clean supplies. Even old/new stock that has never been used on its original bolts can feel stale and musty. The difference a bath makes is quite extraordinary.

 
Before laundering this lace was yellowed and very stiff.

 After laundering the same lace is soft to touch and a lovely white. Amazing that underneath nearly a hundred years of aging is this beautiful lace.
 
The Powerhouse museum has a wonderful file on washing antique lace that is very informative. I use Lux soap flakes to wash my laces, and the power of sunshine. Any stubborn stains can be treated with lemon juice and sunshine. And it is also very important to remember the fragility of these haberdasheries, try not to pull at wet lace, and if they do tangle during washing, wait till they are dry before you begin to straighten them out.
 
 
Mel xx